Hey there, fellow gamers! If you’re tired of playing your favorite games on a sluggish machine, it’s time to build your own gaming PC. Don’t worry, it’s easier than you think. In this step-by-step guide, I’ll show you how to build a gaming PC that will give you the ultimate gaming experience.
Step 1: Choose Your Components
The first step is to decide which components you want to use in your gaming PC. Here are the components you’ll need:
- CPU (Central Processing Unit)
- GPU (Graphics Processing Unit)
- Motherboard
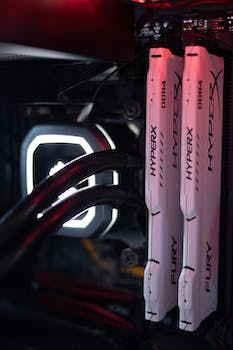
- RAM (Random Access Memory)
- Storage (Hard Drive or Solid State Drive)
- Power Supply
- Cooling System
- Case
Make sure to do some research and choose components that are compatible with each other. You don’t want to end up with a PC that won’t work because the components aren’t compatible.
Step 2: Build Your PC
Now that you have all your components, it’s time to build your PC. Follow these steps:
- Install the CPU onto the motherboard. Make sure to follow the instructions carefully and be gentle when handling the CPU.
- Install the RAM onto the motherboard. Make sure to follow the instructions carefully and make sure the RAM is seated properly.
- Install the storage onto the motherboard. If you’re using a hard drive, you’ll need to connect it using a SATA cable. If you’re using a solid state drive, you’ll need to connect it using a SATA cable or an M.2 slot.
- Install the power supply. Make sure to follow the instructions carefully and make sure the power supply is securely installed.
- Install the cooling system. If you’re using a fan, you’ll need to attach it to the CPU. If you’re using liquid cooling, you’ll need to install the radiator and connect the tubes.
- Install the GPU onto the motherboard. Make sure to follow the instructions carefully and make sure the GPU is seated properly.
- Install the motherboard into the case. Make sure to follow the instructions carefully and make sure the motherboard is securely installed.
- Connect all the cables. Make sure to follow the instructions carefully and make sure all the cables are connected properly.
Once you’ve completed these steps, your gaming PC should be ready to go!
Step 3: Install Your Operating System and Drivers
The final step is to install your operating system and drivers. Follow these steps:
- Insert your operating system installation disc or USB drive.
- Boot your PC from the installation disc or USB drive.
- Follow the instructions on the screen to install your operating system.
- Once your operating system is installed, install the drivers for your components.
- Restart your PC and you should be ready to play your favorite games!
Building your own gaming PC can be a fun and rewarding experience. Follow these steps and you’ll have a powerful gaming PC that will give you the ultimate gaming experience. Happy gaming!